Deploying Laravel Apps in 55 seconds with Forge + DigitalOcean
One of my favorite things about the Laravel development cycle is how easy it is to go from building and testing locally on machine to launching to a production environment. With the click of a button we can spin up a new server, install all the things we need (Nginx, PHP, MySQL, Postgres, Redis, etc) and pull in our GitHub repository. As if that wasn’t good enough, Forge also gives us plenty of awesome tools to do things like manage queue workers, schedule cron jobs, install NewRelic and Papertrail automatically, manage SSL certificates and configure Nginx to manage domains and subdomains. To get started, you will need to sign up for two services:
DigitalOcean: Simple, scalable, SSD cloud hosting built with developers in mind. This interacts with Forge to provide us our magic/sugar/tools. Signup with this link and DigitalOcean will provide you with $10 in hosting credit to get started.
Laravel Forge: Forge is a tool created by Taylor Otwell that connects to the DigitalOcean API to deploy and manage our servers for us, neat!
Okay, now that we are all signed up let’s walk through using Forge to deploy and manage a server for us from start to finish.
Step 1: Give Forge access to your DigitalOcean account.
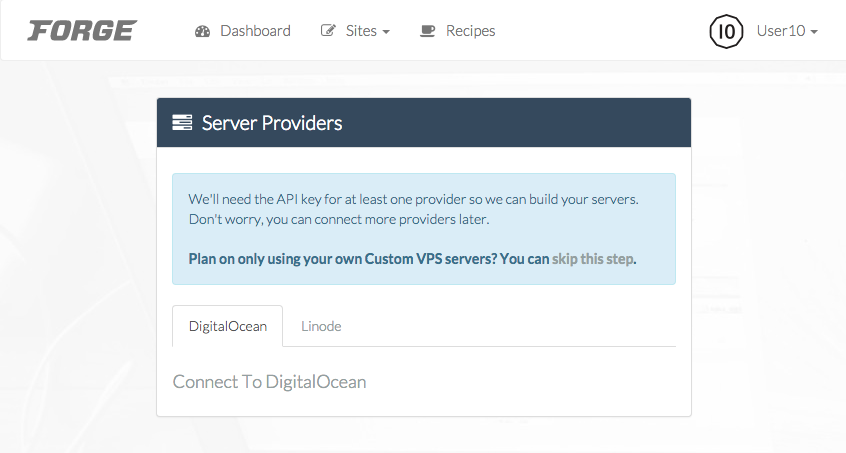
Click the ‘Connect To DigitalOcean’ link at the bottom of the Forge dashboard to grant access to the application.
Step 2: Connect to GitHub (or Bitbucket)
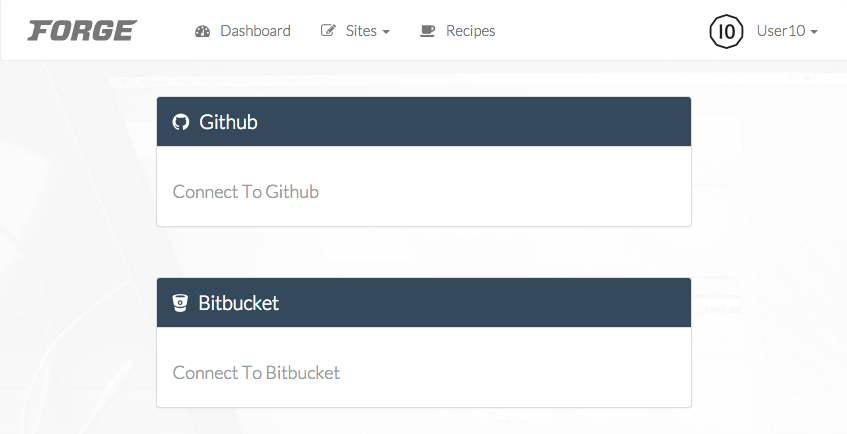
From the Forge dashboard click the link to connect to your GitHub or Bitbucket account.
Step 3: Create your first DigitalOcean server (droplet) with Forge
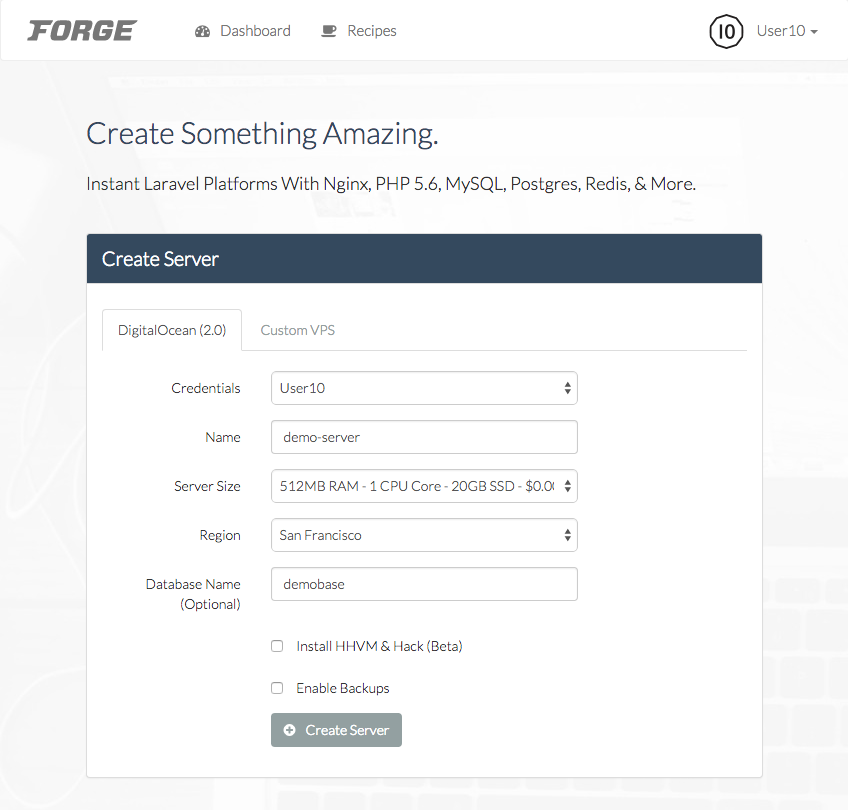
Choose an appropriate server name, size (start small, you can upgrade at any time instantly through DigitalOcean) and region. HHVM is still somewhat buggy so I would recommend leaving it off. Backups are optional and will increase your monthly cost by 20%.
Step 4: Pull in repository from GitHub
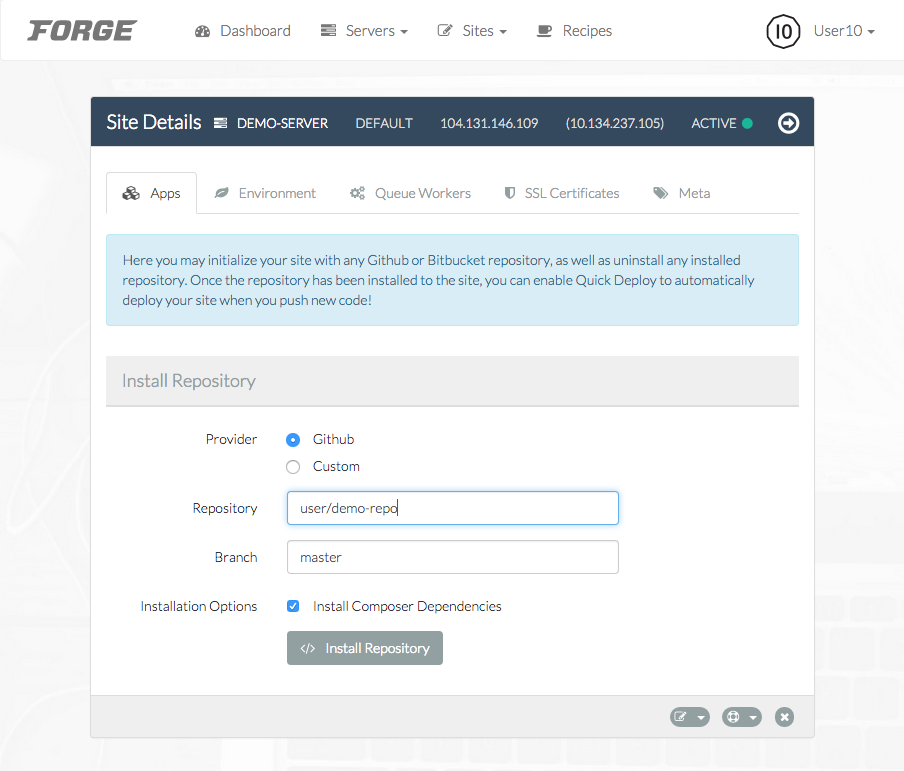
Click ‘Sites’ from the top menu and input your repository info. Forge will also run `composer install` for you. After the repository has been pulled in you will have a variety of options for quick deploy, deployment triggering and Slack/HipChat notifications.
Success!
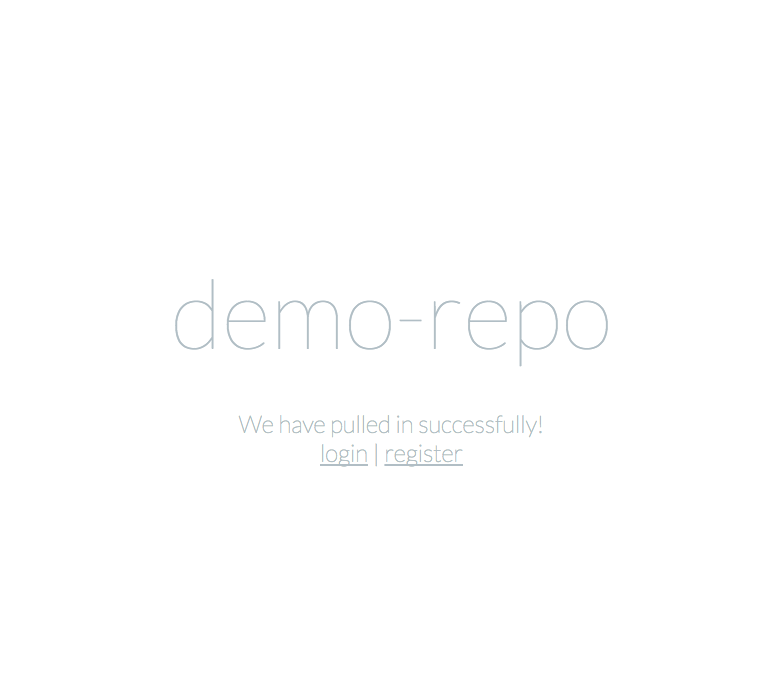
You should now see your site successfully installed!
In a future post I will go into more depth about how to use some of the more advanced features like managing queue workers, scheduling cron jobs and setting up New Relic so stay tuned.
I deployed my laravel app on digitalocean cloudways managed hosting platform in a jiffy, but you claim it to be done in 55 seconds. I will check it out.